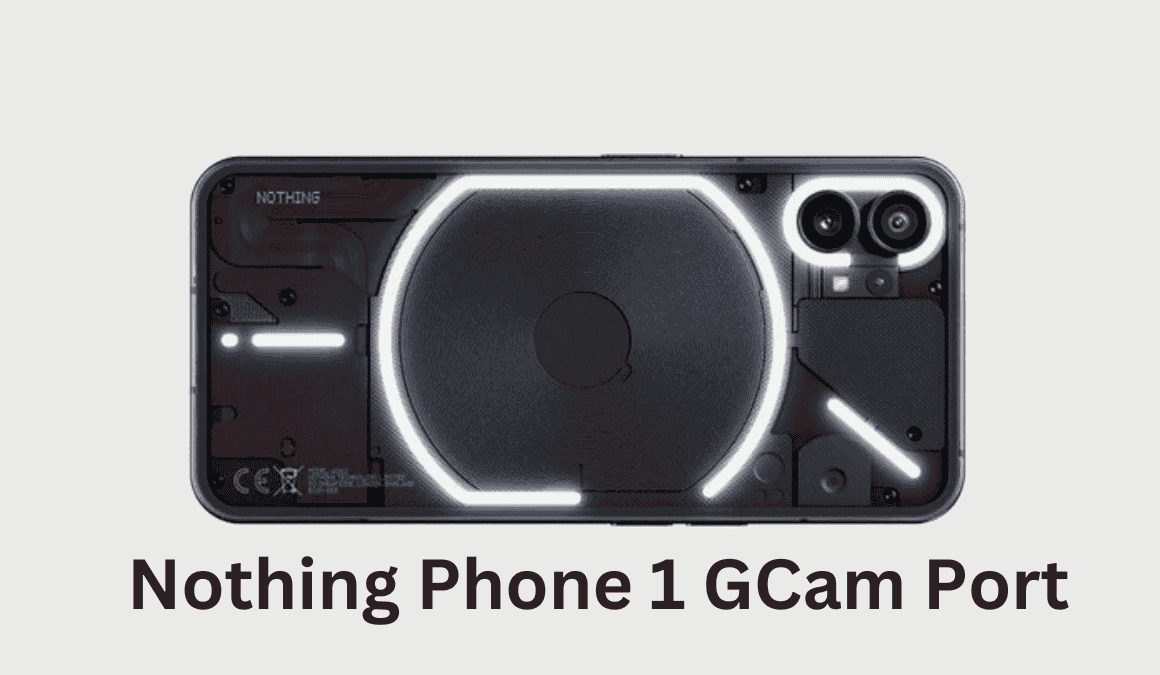
Nothing Phone 1 GCam Port: Features, Benefits, and Installation Tips
The Nothing Phone 1 has been making waves with its distinctive design and impressive performance. However, when it comes to its camera quality, many users are quick to point out that the Nothing Phone 1 comes with a GCam port. This modification brings Google’s powerful computational photography to your device, allowing you to take your smartphone photography to new heights and make it much better than before.
In this blog, we will discuss the Nothing Phone 1 GCam port, from its benefits to how to install it easily.
Why You Should Use the GCam Port on Nothing Phone 1
The Nothing Phone 1 already comes with a capable camera setup, but its stock app can’t match the computational photography prowess of Google’s Camera. Here’s why the GCam port for the Nothing Phone 1 is worth considering
- 1. Enhanced Dynamic Range: The HDR+ feature offers well-balanced photos, even in challenging lighting conditions.
- 2. Night Sight: Low-light photography becomes a breeze, capturing more detail with reduced noise.
- 3. Telephotography Mode: Perfect for capturing stunning shots of star-filled skies.
- 4. Portrait Perfection: Improved edge detection and realistic background blur for professional-looking portraits.
- 5. Superior Video Stabilization: Record videos with a smooth, cinematic feel.
Step-by-Step Guide to Installing GCam Port on Nothing Phone 1
If you’re ready to enhance your photography game, follow these steps to install the Nothing Phone 1 GCam port
Step 1: Download the GCam APK
Visit trusted platforms like Celso Azevedo’s GCam repository or XDA Developers. Look for a version optimized for the Nothing Phone 1.
Ensure the Modder is reputable—names like Arnova8G2 and BSG are popular in the community.
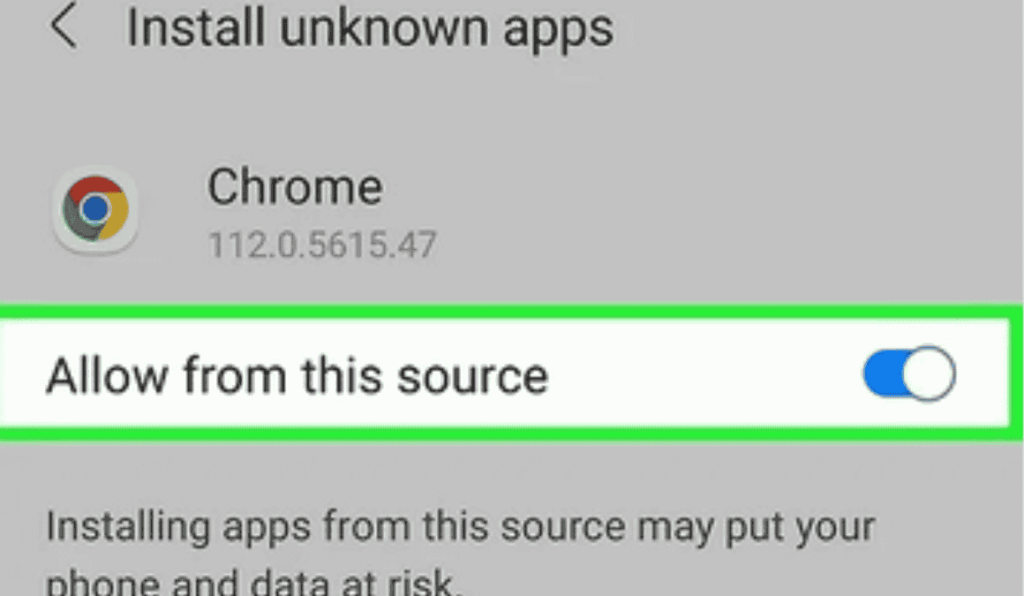
Step 2: Enable Installation from Unknown Sources
On your Nothing Phone 1, go to Settings > Security > Install Unknown Apps.
Grant permission to the browser or file manager you’ll use to install the APK.
Step 3: Install the APK
- Locate the downloaded file and tap to install.
- Follow the prompts to complete the installation process.
Step 4: Configure GCam Settings
Once installed, you may need to tweak the settings for the best results. Here’s what you should adjust
- HDR+ Control: Enable HDR+ Enhanced for better dynamic range.
- Night Sight: Activate for exceptional low-light shots.
- Saturation Levels: Adjust to make colors pop naturally.
Top Features of the Nothing Phone 1 GCam Port
Not all GCam ports are created equal. When choosing a version for the Nothing Phone 1, ensure it includes
- HDR+ and HDR+ Enhanced: For superior detail and color accuracy.
- Astrophotography Mode: Unlock breathtaking long-exposure shots of the night sky.
- Customizable Settings: Fine-tune parameters like sharpness, contrast, and saturation.
- Portrait and Night Modes: Essential for versatile shooting conditions.
Also Read :- OPPO Reno13 Pro 5G:Where Power & Strength Meets Elegance
Why GCam is a Game-Changer for Nothing Phone 1 Users
The Nothing Phone 1 GCam port serves to enhance unmatched photography capabilities. Whether you’re a casual user or a photography enthusiast, GCam’s advanced features—like Night Sight and HDR+—can transform your photos.
With simple installation and a host of benefits, there’s no reason not to give it a try. By following the steps outlined above, you’ll be capturing stunning photos on your Nothing Phone 1 in no time.
Final Thoughts
The Nothing Phone 1 GCam Port is the perfect upgrade for those looking to improve their smartphone photography. Its numerous features, easy installation process, and device compatibility make it an easy choice.
Don’t wait—download the GCam port today and experience the difference!
1. Is GCam port legal?
But install it if you trust it